
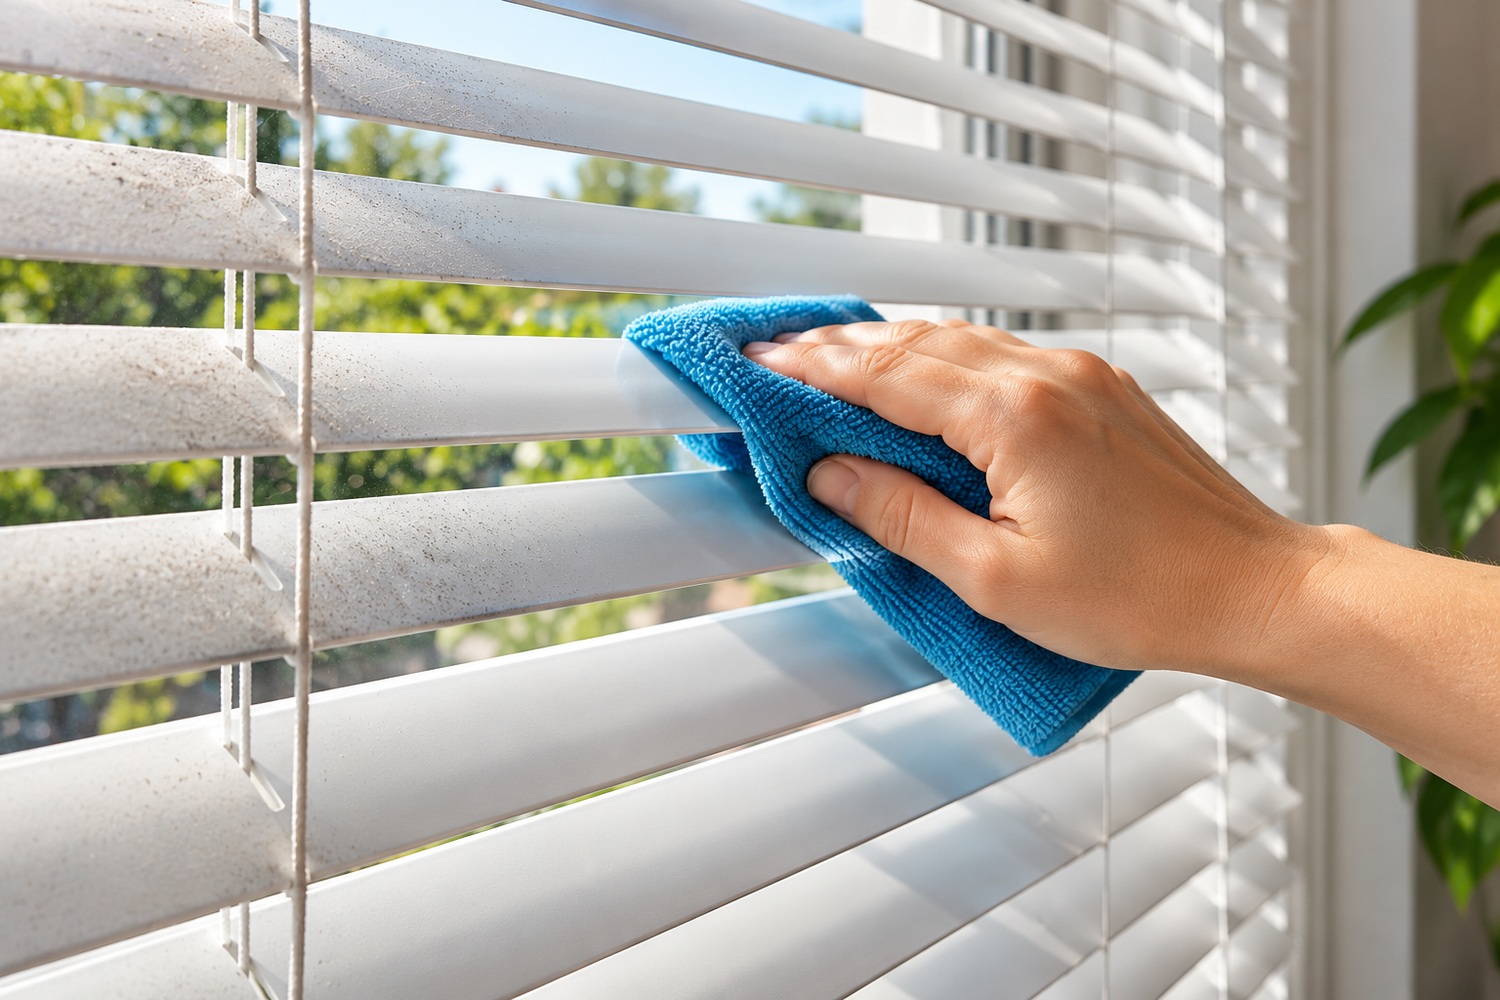
Window blinds are easy to overlook during everyday cleaning, but dust, cooking grease and moisture can gradually leave them looking dull. The good news is that most blinds can be cleaned without taking them down. The key is to use the right method for the material and start gently.
What you will need
- A microfibre cloth or soft duster
- A vacuum cleaner with a soft brush attachment
- A bowl of lukewarm water
- A few drops of mild washing-up liquid, if suitable for the blind material
- A second clean, dry cloth
- A stable step stool if the blinds are difficult to reach
Before using any cleaning solution, check the manufacturer’s care instructions. Test a slightly damp cloth on an inconspicuous area, particularly with dyed, painted or coated blinds.
How to clean window blinds in six simple steps
Step 1: Identify the type of blind
Different materials need different treatment. Aluminium, PVC and many faux-wood slats generally tolerate careful wiping with a damp cloth. Real wood can warp or lose its finish if it becomes wet. Fabric roller, Roman and pleated blinds usually benefit from dry dusting or gentle vacuuming rather than washing. If the care label says dry clean only, follow that advice.
Step 2: Remove loose dust first
Close Venetian or horizontal blinds so the slats face one direction. Working from the top down, wipe them with a clean microfibre cloth or use a vacuum’s soft brush on low suction. Move gently to avoid bending thin slats or pulling on the cords. For vertical blinds, clean each vane from top to bottom while supporting it with your free hand. If you use a Miele canister vacuum for dusting, our guide to Classic C1 and Complete C1 vacuum bags explains how to choose the correct replacement bag.
Step 3: Turn the slats and repeat
Rotate horizontal slats the other way to expose the surfaces you missed. Dust those surfaces using the same top-to-bottom approach. Pay attention to the edges, where dust tends to collect. With vertical blinds, check both sides of each vane.
Step 4: Spot-clean marks carefully
For suitable plastic, aluminium or faux-wood blinds, lightly dampen a cloth with lukewarm water. If needed, add a small amount of mild washing-up liquid. Wring the cloth out thoroughly: it should feel barely damp, not dripping. Gently wipe greasy fingerprints or marks, then remove any soap residue with a second lightly damp cloth. Never spray liquid directly onto the headrail, controls or motorised components.
For real wood, use a dry cloth first and only a manufacturer-approved product if further cleaning is needed. For fabric blinds, avoid rubbing stains aggressively, saturating the fabric or applying untested stain removers, which can cause watermarks or shrinkage.
Step 5: Dry and check the mechanisms
Wipe moisture from suitable slats with a soft, dry cloth and allow the blinds to dry fully. Gently dust the headrail and accessible fittings without forcing moving parts. Do not soak cords, mechanisms or electrical components. Once dry, operate the blind slowly to check that the slats move freely.
Step 6: Clean the window and surrounding frame
Finish by cleaning the windowsill and wiping dust from the accessible frame. If you are cleaning the glass as well, avoid splashing cleaner onto fabric or wooden blinds. Let the glass dry before returning the blinds to their usual position. If you are dealing with persistent indoor damp, our dehumidifier placement and ventilation guide covers important moisture-control and safety considerations.
The best cleaning method for each blind type
| Blind type | Recommended approach | What to avoid |
|---|---|---|
| Aluminium Venetian | Microfibre cloth; lightly damp wipe for stubborn marks | Bending slats or abrasive scrubbers |
| PVC or faux wood | Dust first, then wipe gently with a barely damp cloth | Excess water and harsh chemicals |
| Real wood | Dry microfibre dusting; follow maker’s care advice | Soaking, steam cleaning and wet cloths |
| Fabric roller or Roman | Soft brush vacuum on low suction; approved spot treatment only | Saturation, hard scrubbing and unapproved detergents |
| Vertical fabric | Support each vane while brushing or vacuuming downwards | Pulling, creasing or twisting the vanes |
How often should you clean blinds?
A quick dust every one to two weeks is a sensible starting point for most homes. Blinds in kitchens, busy rooms or dusty roadside locations may need more frequent attention. Check for marks when you clean the windows and deal with them promptly using the appropriate method for the material.
Common mistakes to avoid
- Using too much water: Moisture can damage wood, stain fabrics and affect internal mechanisms.
- Scrubbing before dusting: This can turn loose dust into streaks or grime.
- Using strong cleaners: Bleach, abrasive products and solvent-based cleaners may damage coatings or finishes.
- Forcing delicate slats: Support them while wiping and avoid twisting them out of position.
- Removing blinds unnecessarily: Many can be maintained in place; removal may damage fittings if done incorrectly.
Frequently asked questions about how to clean window blinds step-by-step
Can you clean blinds without taking them down?
Yes. Regular dusting, vacuuming and careful spot-cleaning can usually be done while blinds are hanging. Check the care instructions before attempting a deeper clean.
Can you use washing-up liquid on blinds?
A few drops of mild washing-up liquid in lukewarm water can help remove greasy marks from some PVC, aluminium and faux-wood blinds. Check the manufacturer’s guidance, test a hidden area and avoid using it on materials that must remain dry.
Is steam cleaning a good idea?
Not as a general method. Heat and moisture may damage adhesives, fabric finishes, timber and mechanisms. Only use steam if the blind manufacturer explicitly permits it.
Final thoughts
The simplest way to keep window blinds looking good is to dust them regularly and treat individual marks gently. Work from the top down, clean both sides where applicable, and always match the cleaning method to the material. A few minutes of routine care can prevent the need for a more difficult deep clean later.
Further Reading
- This Old House: How to Clean Window Treatments — guidance for different window covering materials.
- Good Housekeeping: Blind-Cleaning Methods — practical blind dusting and wiping advice.